
Nuxt3集成naive ui并支持自动引入
匿名 · 更新于 2023/3/25
- 1、首先创建Nuxt3项目
npx nuxi init mynuxt3
- 2、然后依次执行以下命令
cd mynuxt3
yarn install
yarn dev
- 3、不出意外,执行完以上命令,你应该可以看到nuxt3已经运行起来了
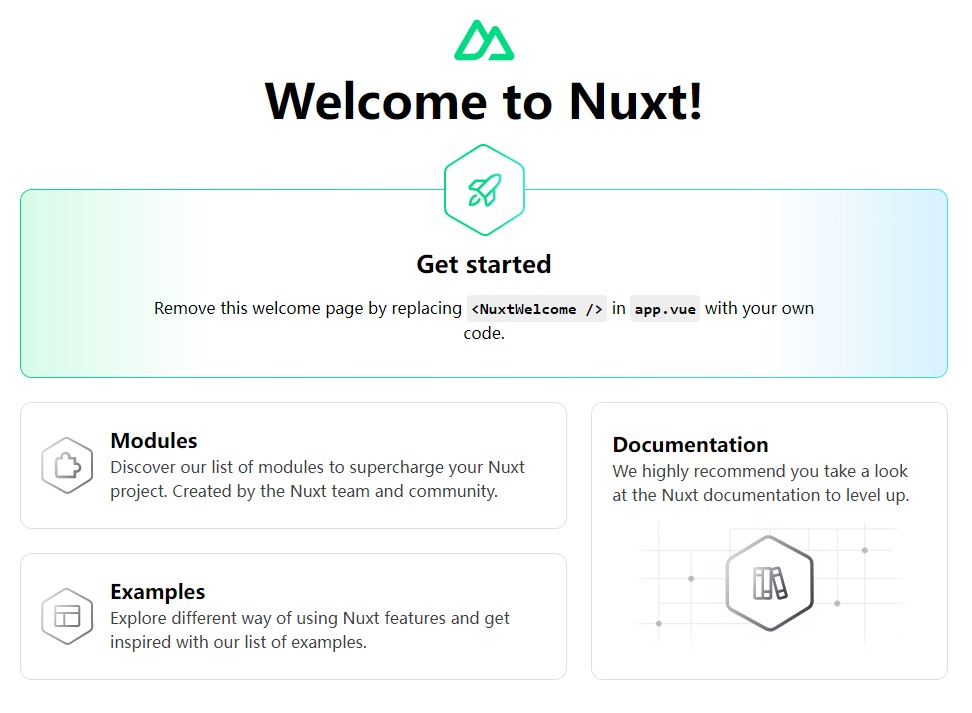
- 4、现在开始安装naive-ui, 执行以下命令
yarn add naive-ui
- 5、安装成功后,运行下方命令,安装unplugin-vue-components,用来实现自动引入naive-ui
yarn add unplugin-vue-components
- 6、在项目根目录下新建一个plugins目录,在目录下新建naive-ui.ts,将以下代码复制到naive-ui.ts中
import { setup } from '@css-render/vue3-ssr';
import { defineNuxtPlugin } from '#app';
export default defineNuxtPlugin((nuxtApp) => {
if (process.server && nuxtApp.ssrContext) {
const { collect } = setup(nuxtApp.vueApp || {});
// @ts-ignore
const originalRender = nuxtApp.ssrContext.renderMeta.bind(nuxtApp.ssrContext);
nuxtApp.ssrContext.renderMeta = () => {
// @ts-ignore
const result = originalRender();
// @ts-ignore
const headTags = result && result.headTags ? result.headTags : '';
return {
headTags: headTags + collect()
};
};
}
});
- 7、如果以上代码中process报错,执行下方命令
yarn add @types/node
- 8、将以下代码复制到项目根目录下的nuxt.config.ts中
// https://nuxt.com/docs/api/configuration/nuxt-config
import Components from 'unplugin-vue-components/vite';
import { NaiveUiResolver } from 'unplugin-vue-components/resolvers';
export default defineNuxtConfig({
    build: {
        // 配置构建选项
    },
    components: true,
    modules: [
        // 配置使用的 Nuxt.js 模块
    ],
    plugins: [
        // 配置使用的插件
    ],
    router: {
        // 配置路由选项
    },
    server: {
        // 配置服务器选项
    },
    vite: {
        plugins: [
            Components({
                resolvers: [NaiveUiResolver()], // Automatically register all components in the `components` directory
            }),
        ],
        // @ ts-expect-error: Missing ssr key
        ssr: {
            noExternal: ['moment', 'naive-ui', '@juggle/resize-observer', '@css-render/vue3-ssr'],
        },
        envDir: '~/env', // 指定env文件夹
        optimizeDeps: {
            include: ['@vicons/ionicons5']
        },
    }
})
- 9、最后将app.vue中的代码改为以下代码,如果可以看到naive-ui的按钮组件,那么就说明naive-ui已经安装成功并且实现自动引入了
<template>
  <div>
    <n-space>
      <n-button type="primary">naive-ui</n-button>
      <n-button type="info">naive-ui</n-button>
      <n-button type="warning">naive-ui</n-button>
    </n-space>
  </div>
</template>